
How to Change Your Facebook Name in 2025 Using VPN – Step-by-Step Guide
As you can see, my ID name is currently very simple. To change it, the first thing you need to do is click on the three-line (hamburger) menu.
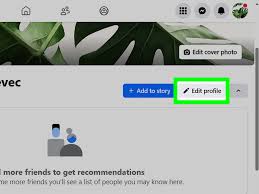
After clicking on it, you’ll see some options below — select the “Settings” option.
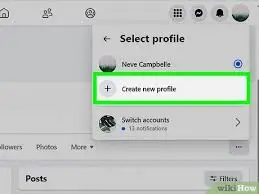
Once you click on Settings, the “Account Center” option will appear — click on that as well.
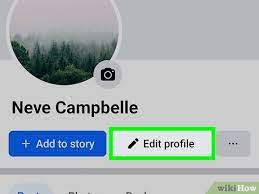
Then click on the “Profile” option. There, you’ll see your current ID name.
Click on the Name option, and you will find fields for First Name and Last Name.
You can clear those fields and enter a new name if you want.
You’ll also find new name suggestions in the video description.
I’ll copy the first name from there and paste it in the field.
Similarly, I’ll copy and paste the last name too.
This is a new trick, and it requires a specific VPN.
Now you need to download the “Touch VPN” app from the Play Store.
After downloading, open the app. It might take a little time to load, but it will open.
You’ll see several server options there.
The VPN I use is the “Ireland” server — you need to select that one, as it works the best.
Once the VPN connects, you’ll see a blue button below that says “Review Changes” — click on that.
Now, once again, select your first and last name and click on “Save Changes”.
Once that’s done, your name will be successfully updated.
Go back to your Facebook profile and refresh it — you’ll see the new name applied.
If you liked the video, be sure to like, share, and comment!